
Linux
How to install PHP 8.0 on Ubuntu 20.04
PHP is a popular server-side scripting language that is used for developing dynamic websites. PHP 8.0 was released on November 26, 2020, and packs with major improvements and enhancements. We have previously shown you how to install PHP 8.0 on CentOS 8. In this guide, we cast our net wider and show you how to install PHP 8.0 on Ubuntu 20.04 Focal Fossa. Let’s begin!
Step 1: Update Ubuntu 20.04
The first step is to update your system’s package lists and repositories. To achieve this, log in as a sudo user and execute the command:
|
1 |
$ sudo apt update |
With the system up to date, now let’s proceed to the next step.
Step 2: Add the Ondřej Surý P.PA repository
In Ubuntu 20.04 repositories, PHP 7.4 is the default PHP version at the time of penning this guide. But since we are interested in installing PHP 8.0, we will add the Ondřej Surý PPA repository which packs dozens of PHP versions. To achieve this, run the command:
|
1 |
$ sudo add-apt-repository ppa:ondrej/php |
When prompted to continue with the installation, simply hit the ‘ENTER‘ button on your keyboard. This takes a couple of seconds.
Step 3: Install PHP 8.0 on Ubuntu 20.04
After adding the Ondřej Surý PPA repository, update the package lists on your system as follows:
|
1 |
$ sudo apt update |
If you have an instance of Apache webserver running on your system, run the command below to install PHP 8.0 and the PHP Apache module.
|
1 |
$ sudo apt install php8.0 libapache2-mod-php8.0 |
Then restart the Apache webserver to enable the module.
|
1 |
$ sudo systemctl restart apache2 |
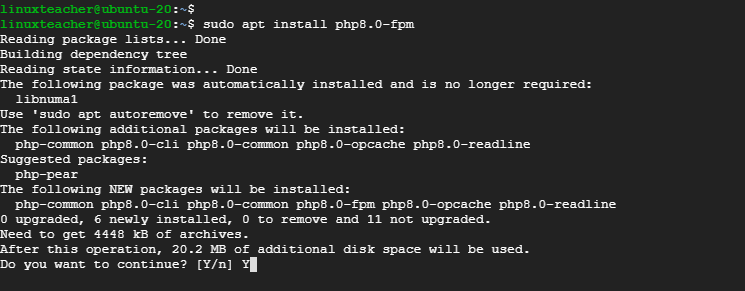
If you intend to use the PHP-FPM ( FastCGI Process Manager), then issue the command below to install the required modules:
|
1 |
$ sudo apt install php8.0-fpm libapache2-mod-fcgid |
Thereafter, enable the module by executing the commands shown:
|
1 |
$ sudo a2enmod proxy_fcgi setenvif |
|
1 |
$ sudo a2enconf php8.0-fpm |
Then restart Apache to enable the changes:
|
1 |
$ sudo systemctl restart apache2 |
Step 4: Install PHP 8.0 with Nginx
If on the other hand, you are running an Nginx web server on your server, the recommended way is to install PHP-FPM. PHP-FPM is an alternative implementation of PHP that packs with additional features to support highly-loaded websites.
To install PHP-FPM, execute the command:
|
1 |
$ sudo apt install php8.0-fpm |
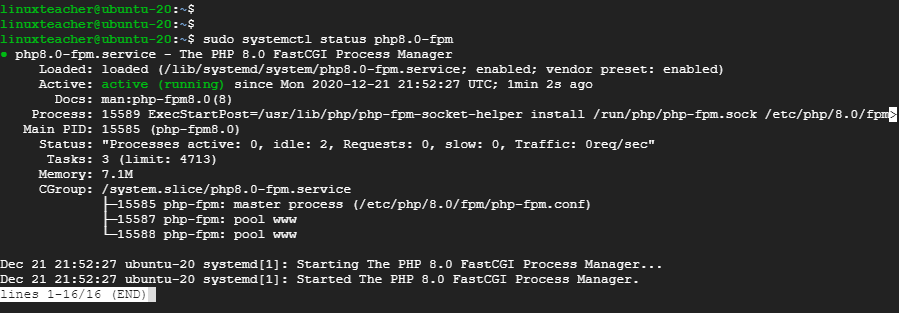
After the installation is complete, PHP-FPM should start automatically, you can confirm this using the command:
|
1 |
$ sudo systemctl status php8.0-fpm |
For the Nginx webserver to process PHP files, update your Nginx server block by appending the server section with the lines below:
server { # … some other code location ~ \.php$ { include snippets/fastcgi-php.conf; fastcgi_pass unix:/run/php/php8.0-fpm.sock; }
Then restart the Nginx web server for the changes to kick in.
|
1 |
$ sudo systemctl restart nginx |
Step 5: Test PHP installation
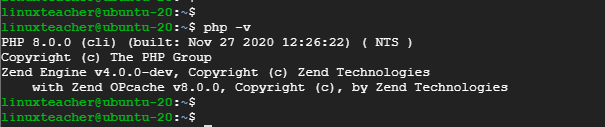
To check the PHP version installed, execute:
|
1 |
$ php -v |
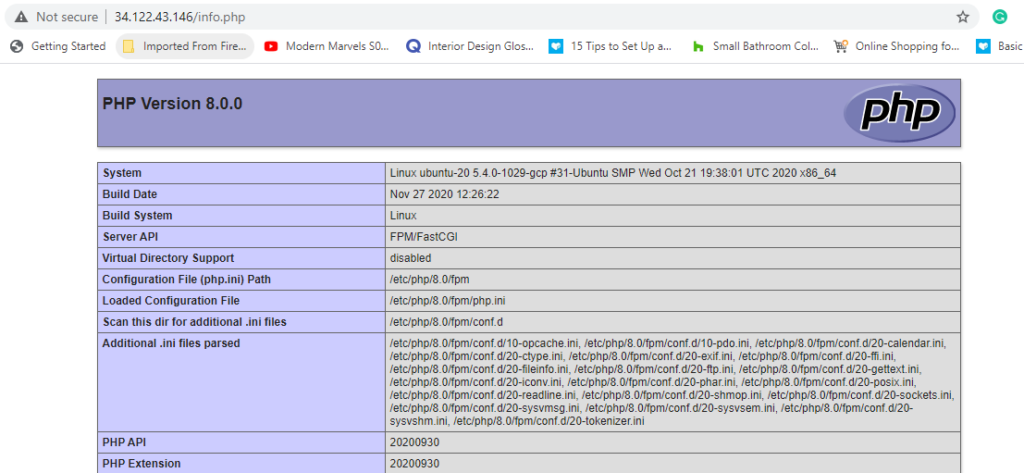
Also, you can test the PHP version on a browser. To do this, create a sample PHP file at the webroot directory.
|
1 |
$ sudo vim /var/www/html/info.php |
Add the lines below.
<?php phpinfo(); ?>
Proceed to your browser and browse your server’s IP address as shown:
|
1 |
http://server-ip/info.php |
You should get the information below displaying the PHP version and other server details.
Ladies and gentlemen. We have come to the end of our article. And that’s how you install PHP 8.0 on Ubuntu 20.04.
-

 DevOps6 years ago
Saltstack Tutorial for beginners [2025]
-

 DevOps6 years ago
How to build a Docker cron job Container easily [2025]
-

 Linux6 years ago
mail Command in Linux/Unix with 10+ Examples [2025]
-

 DevOps6 years ago
Docker ADD vs COPY vs VOLUME – [2025]
-
 DevOps5 years ago
How to setup Pritunl VPN on AWS to Access Servers
-

 Linux6 years ago
Grep Command In Unix/Linux with 25+ Examples [2025]
-
Linux5 years ago
How To setup Django with Postgres, Nginx, and Gunicorn on Ubuntu 20.04
-

 Linux6 years ago
Find command in Unix/Linux with 30+ Examples [2025]